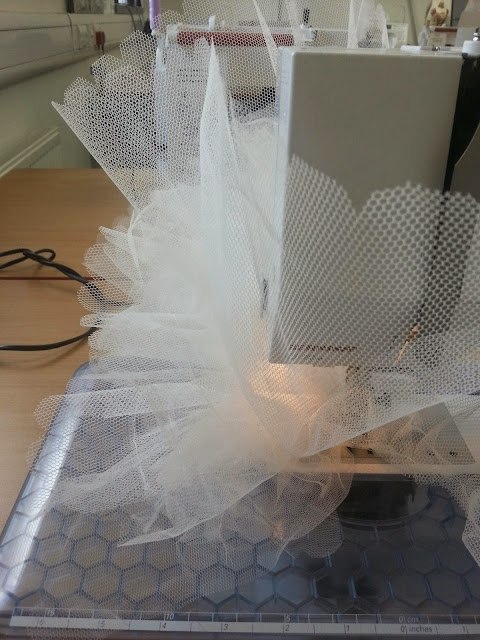
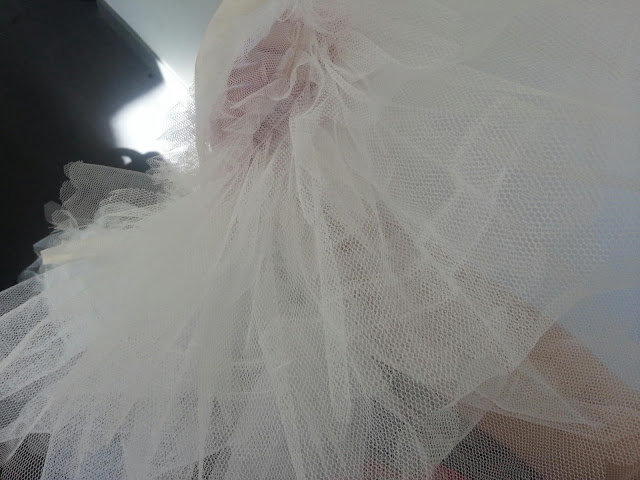
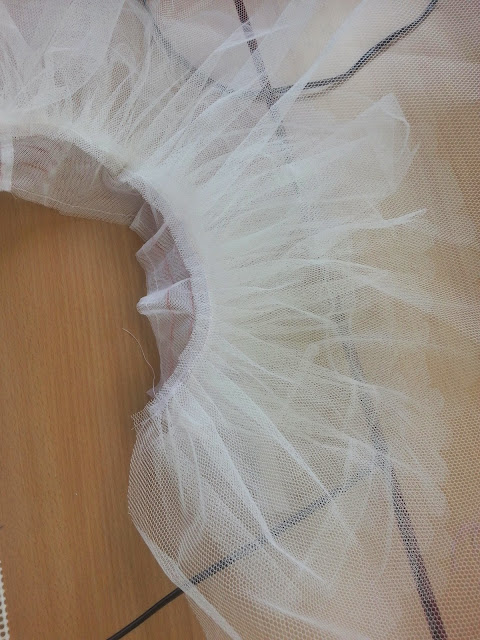
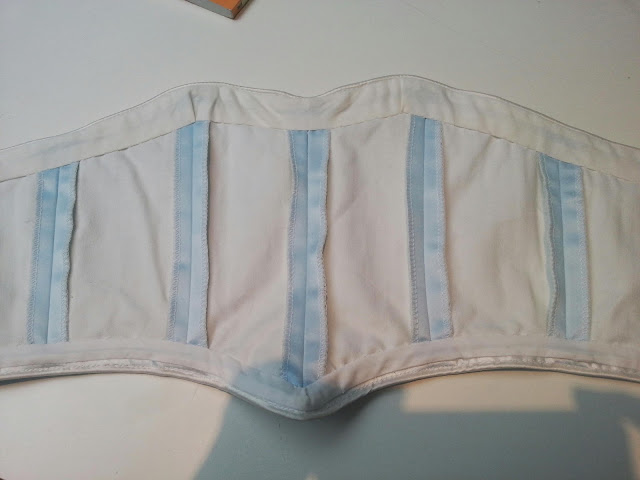
- Attach the two leg ruffles around the edge of the bias with the layer facing up. Trim off any extra ruffles leaving 1.5cm just in case.
- The bottom 4 layers must all be sewn with the layers going up to counter act the rest of the layers which all are all going downwards.
- Pin each layer before you sew them to the pants, following the line marked on. Make sure to keep track or what layer you are on and which type of netting you should be using. This will help you avoid mistakes.Remember to leave 1.5cm at each end for attaching later.
Tuesday 29 April 2014
Step by step Tutu part 3 Bottom Tutu Layer Construction
Labels:
ballet,
dance costumes,
learning,
step by step,
techniques,
tutu
Step by Step Tutu Part 2 Ruffles Preperation
- Cut out all layers using measurements that can be found bellow. More layers can be added. Just use the measurements bellow as a rough guide.You can cut down on layers but the top two have to be stiff net and the leg ruffle has to be soft. Bottom 4 layers have seems going up and the rest go down. To the top two layers add as much ruffle to them as possible.
Cutting Net
The size and shape of the dancer will determine the number of frills and the length of the frills.The more slender dancer needs less length in her frill. A shorter dancer can accommodate fewer frills.
For dancers whose height is over five foot four inches ten frills works with widths generally no wider than 12.5 to 13 inches:
- 1.5 inches
- 3.5 inches
- 5 inches
- 7.5 inches
- 9.5 inches
- 11 inches
- 12 inches
- 13 inches = this is average
- 14 inches = this is average
- 15 inches = this is tall dancer range.
Remember, it takes 13 inches of net to create a 12.5 inch tutu length. Also remember there will be mistakes and length could come off the ends! Give yourself room for error if you are new to this.
A good example of a character tutu that typically calls for a long skirt is Cinderella’s tutu which is often longer than most though not quite a romantic tutu. This is an example of a bell shaped tutu that often contains a hoop.
Tutu Frill Dimensions
Yards of net required for an average tutu are 14 yards which are cut into the following lengths in inches:
12.5- (cut four lengths of 54 inch fabric)
12.0 -(cut four lengths of 54 inch fabric)
10.5-(cut three lengths of 54 inch fabric)
9.5-(cut three lengths of 54 inch fabric)
8.5 -(cut three lengths of 54 inch fabric)
{the 8.5 layer is the wired layer in which a two inch strips is sewn to insert the wire.}
7.0-(cut three lengths of 54 inch fabric)
6.0-(cut three lengths of 54 inch fabric)
5.0-(cut three lengths of 54 inch fabric)
4.0-(cut three lengths of 54 inch fabric)
3.0-(cut three lengths of 54 inch fabric)
2.0-(cut three lengths of 54 inch fabric)
1.5-(cut three lengths of 54 inch fabric)
- Remember to mark on the strips which layer they are so you don't get mixed up.
- The channel layer must be on the 5 layers ish as long as it's stiff net. For my tutu I have 4 layers of soft and 6 layers of soft. Attach the channel to the 5th layer while it's flat then scallop the edges of the fabric if required. Remember to vary the size of scallop for the best effect.
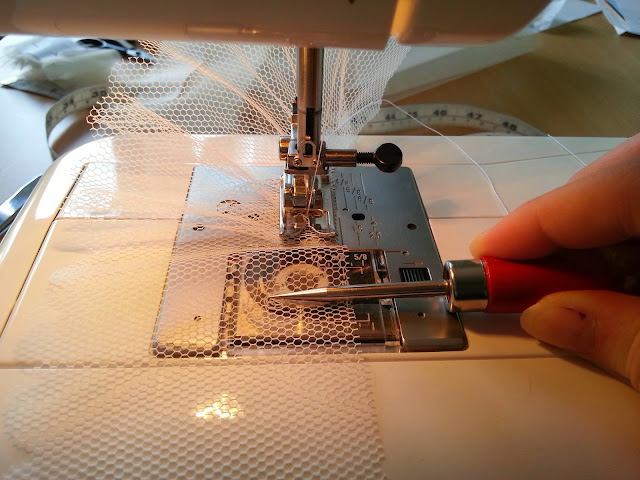
- Pleat all the layers using a gathering foot or a quick unpick pushing the fabric through. Keep the line of the fabric straight.
- You'll end up with a row of curls like the picture bellow after there pleated.
Labels:
ballet,
dance costumes,
learning,
ruffles,
step by step,
techniques,
tutu
Step by step Tutu part 1 Pants Preperation
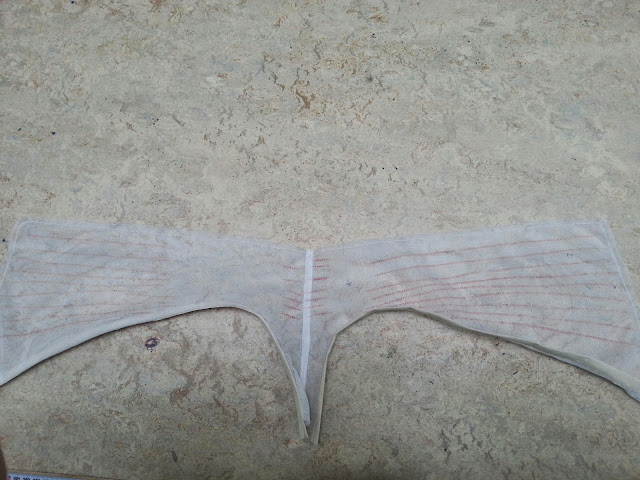
- Cut out panties pattern in a soft toille or body stocking. With toille use double layers.
- Attach the two pieces together to make one piece. The straight stitch also stops the pieces from stretching out of place while you attach them later.
- Attach fronts leaving the back open for fitting later. French seam the front.
- Mark on the lines for attaching the ruffles from the pattern. In future I think I will photo copy the pattern and sew the lines on for a more accurate line.
- Bias bind the edges of the legs. Insert elastic at this stage so it clings to the legs and will move with the body.
Labels:
ballet,
dance costumes,
learning,
pants,
step by step,
techniques,
tutu
Hamlet Begins
29th April
We looked out more things for Hamlet from the stores. Labelled all the rails and organised them for the fittings at the end of the week. We organised the spare rail as well just leaving us with the shoes to do.
Key points to note already:-
We looked out more things for Hamlet from the stores. Labelled all the rails and organised them for the fittings at the end of the week. We organised the spare rail as well just leaving us with the shoes to do.
Key points to note already:-
- Write everything down, keep paper on you all the time.
- Make lots of lists of things to do and things that need done by a certain point.
- Keep up to date with things that are ordered or any changes that are made
- KNOW YOUR TIME LINE! Know how much time you have for fittings, alterations, ironing, packing the works then see how many costumes you have. BE PRACTICAL WITH YOUR TIME. 3 HOURS FOR SMALL MAINTENANCE, IRON AND PACK. For this show avoid big alterations like the plague as we have a week do to alterations.
- Label all your shoes.
- KEEP ON TOP OF THINGS!!
Friday 25 April 2014
End of the week 25th April
- Velvet board used for ironing velvet to keep there fibres properly.
- Learned to tie bow ties.
- Nearly finished the opera dress I was working on.

Wednesday 23 April 2014
Opera Day

Patterns can be very helpful to work with but from working on this dress I've realised you can't trust your eyes you have to trust the measurements and stepping back from the garment on a dummy. Also that the bigger a persons assets the more it influences a hem or shape of a garment to fit the body shape eg. stomach, bust, bum sizes can make a garments dip in different places when it's not on them..
Tuesday 22 April 2014
Before Easter
Before Easter:-
During my time on Legally Blonde I learned quite a bit. I've realised how hard it is to step away from a show after the hour call. I could only do maintenance, checks in the morning, ironing that's about it. However it really made me realise that we are wardrobe department not laundry, we do fittings and make costumes not dressing as a first priority on shows. However I realised that being back stage to see how to help with quick changes on shows can help, for example magnets, poppers, zips, elastic in shoes etc.
Mangment:-
I'm so nervous about this management because it seems to be going no where because of lack on info. I'm so glad that we have an extension because I don't feel like I have enough to talk about for 1000 words. The only thing I could talk about is at what info I don't have and how it's effected the costumes and time.
Opera:-
It was really nice to see all the costumes together as one unit. I love the style of the design and I can't wait to see it on the stage. It was interesting to see what notes can get done with not long to go and staff shortages. It was interested to see how the period pieces like the flyered trousers and suits got pulled in. It's interesting to see how the director has final say on designs and look of the show really. The director seemed to be making a lot of big decisions. It's interesting to see how much he was paying attention to the body shapes of his cast and making sure it actually suits them and how they move.
Monday 21 April 2014
Tutu Step by Step part 2 Bodice
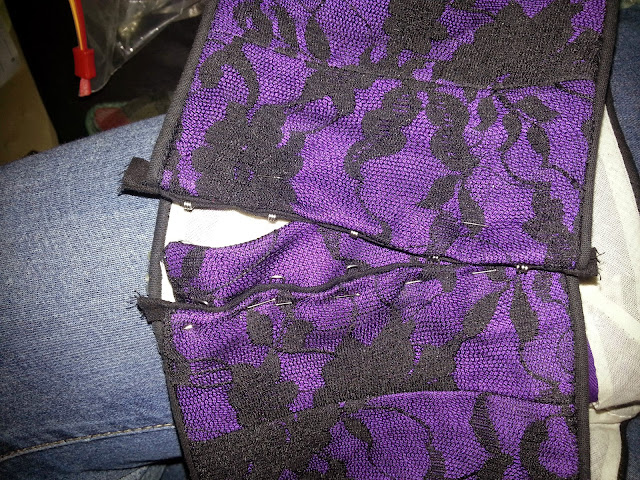
- Attach all panels together and press open.
- Put piping around the edge to help hold the shape of the bodice. at this point add boning for support and structure to the front and sides of the bodice.
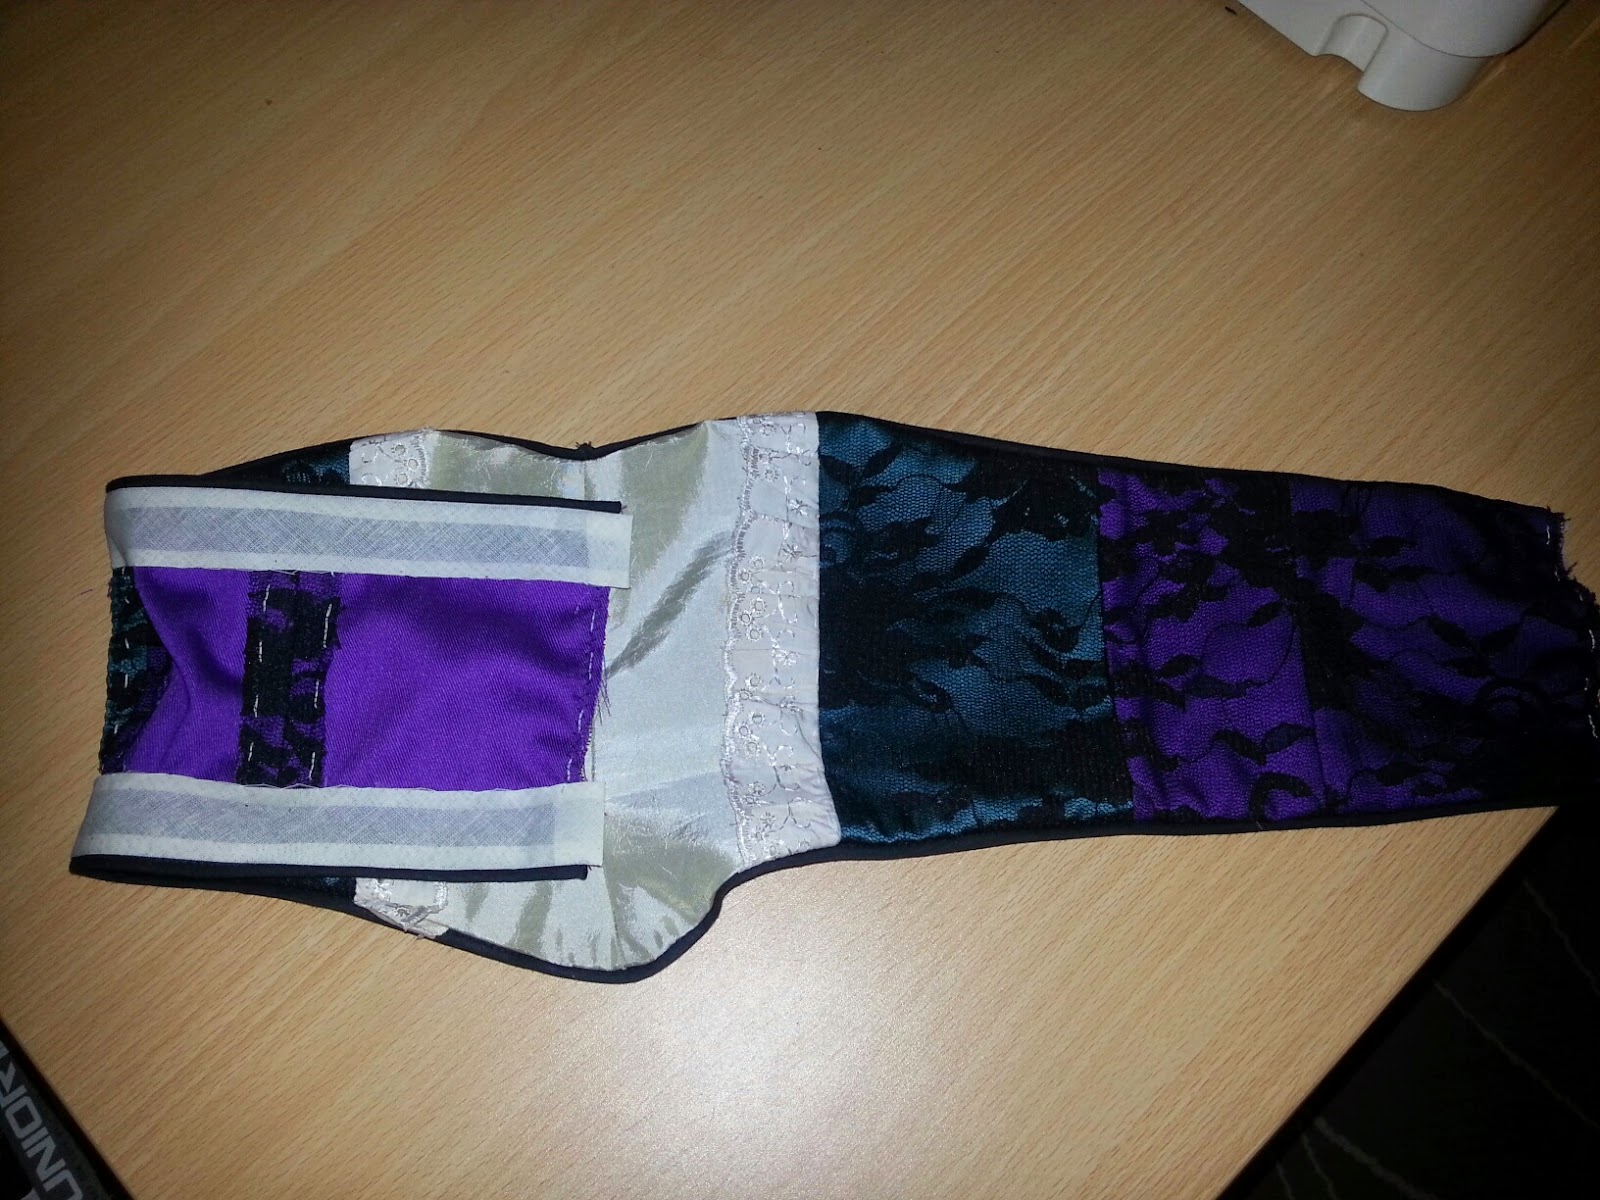
- Fold the pipping back before pressing it to the edge of the fabric. Attach the bias binding tape to the edge of the pipping and fold back against the wrong side of the fabric so it's not seen. Iron flat before pinning it down. Tack stitch the bias down to hold in the raw edges of fabric.
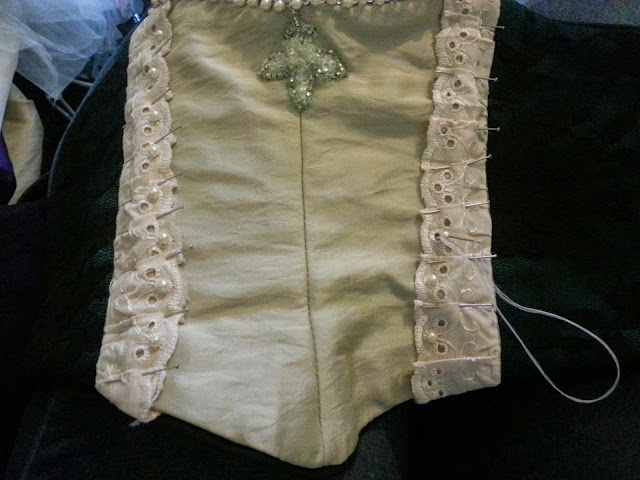
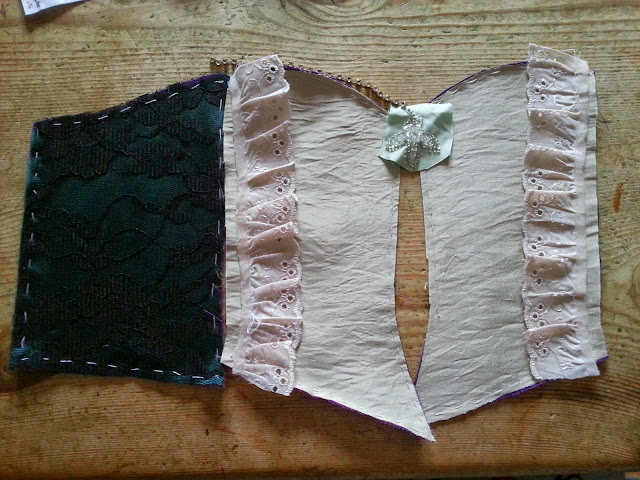
- Iron again before attaching decoration. Remember to keep stitches small on the outside so there not seen.

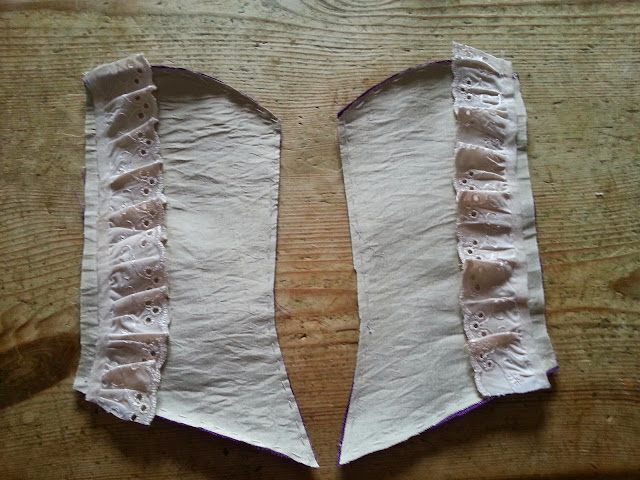
- Attach frills to bodices if needed.
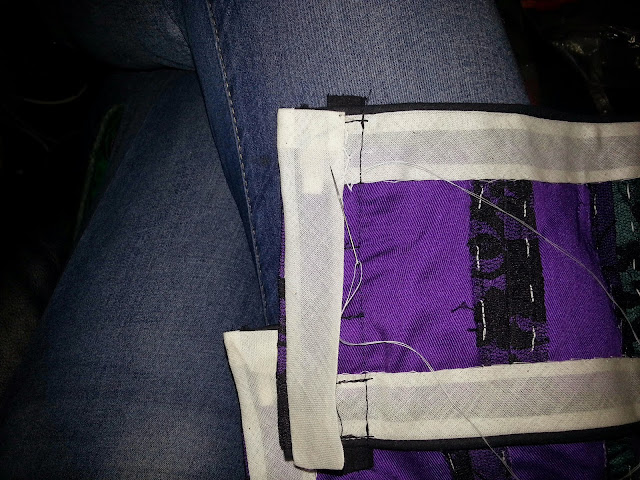
- Bias bind bodice edges and track the back before attaching hook and bar tape which is a quick way of adding hook and bars. Make sure the bars match up with the hooks.
Tuesday 8 April 2014
Tutu Step by Step: Bodice part 1
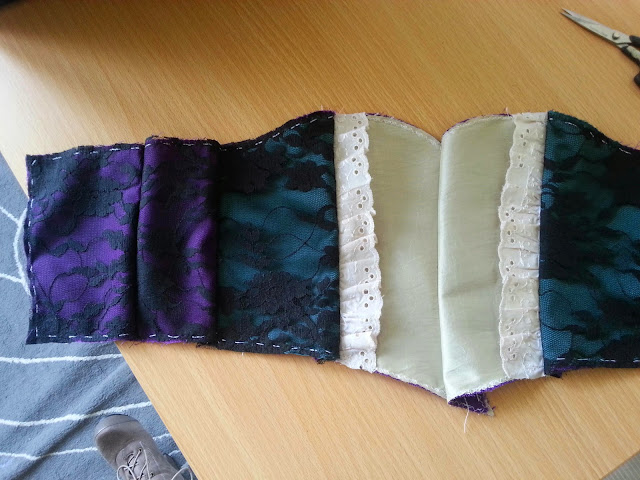
- I started of by cutting out all my pieces of fabric; cutting two of each piece in the cotton drill (the purple fabric in this case) and my top fabrics (The green and ivory fabric).
- Next I ironed all the pieces flat and placed them on top of each other before hand tacked them together so they can be used as one piece of fabric.
- I tea stained my lace inserts to match the ivory fabric before tacking them ! cm away from the end of the fabric so that when I make the seam the will still be visible.
- Next I iorned all my pieces again to make sure they are all flat.
- Overlock the edges of all my fabric. (If I wasn't at home I might have just over locked the together without hand tracking but I wanted it to be more secure.
Tutu making Starts
For this I will be using a childs sized bodice and tutu blocks so as to minimise costs but still be able to aquire the skills to make a full sized bodice. I will not be boningthis bodice as it is not needs for a childs bodice and I aready have experience in boning from making corsets and other structured bodices.
I will be starting with the bodice as I will be able to make this at home over easter. Hazel told me that when she makes a tut she starts from the tutu up and it's easier to fit then but she talk me it shouldn't matter too much.
I will need:
A heavy cotton drill for the under bodice
Top fabric e.g satin, lace, cotton, silk etc.
Pipping
Bias binding
Any embellishment for the design
I've kept my design very simple just with different coloured panels in cream, green and purple with black lace over the top and some lace inserts with some jewels to finish it off. It's more important to learn the techinques than the design at this stage.
Subscribe to:
Posts (Atom)
